By Craig O’Mara, GLSFIA Director
CFI’s generally spend so much of our time preparing students for check rides that the tendency is to view PTS maneuvers as our sole responsibility. But after earning the certificates or rating, we have the opportunity to go “beyond the PTS”. How many times have you told a student that there is so much to learn after the check ride? That’s the time to teach them what’s not in the PTS.
How many of you teach your students to know the “turn-around altitude” for the airplane that they fly, as part of their takeoff and departure planning? In addition to deciding on an abort procedure, we should have an idea of how to land safely from any point during the initial climb. These maneuvers are always preceded by a lengthy preflight discussion.
I always give students an aborted take off, and a simulated engine failure just after lift off, but we should also know when we are able to do a 180 degree turn and make it back to the field if we lose an engine a bit higher. We discuss the procedure on the chalkboard (am I really that old?) first and then go practice it in flight to get an approximate number. Since an engine loses approximately 3% of its rated HP for each 1000’ of altitude, I tend to do this experiment from just 2000’ MSL or so (the engine, at rated RPM, will be around 94% BHP). We slow to take off speed, apply full power and climb at VY until 3000’ MSL. I then close the throttle. We count 3 seconds (to simulate the time lost deciding what to do: the “startle factor”) and then start the maneuver to get back to the field.
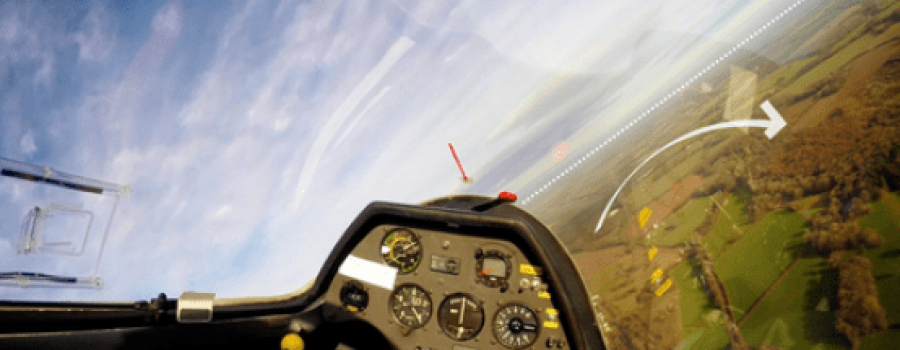
As you know this requires a big pitch change from that required for VY to VL/DMAX. How much bank do we use, which way do we turn and how do we know when we are back on the ground? When flying sailplanes (I highly recommend it!), we learn that after a rope break 45 degree of bank yields the least altitude loss during a 180 degree turn to get back to the field is (see chart below). I teach the same in airplanes. Regarding crosswinds, I advise turning into the wind. This reduces turn radius and may assist in getting on centerline. Of course, many issues might prevent this, so you’ll need to determine this before take off.
I generally try to start this maneuver over a road or railroad track to simulate the runway and give the student something to look for when they are completely turned around. When the student is aligned with the road after the 180, we look at the altitude loss to get an approximation of the amount of altitude that they will need for their engine failure and return to the field. If you do a few of these maneuvers you should get a pretty good idea of your turn around altitude (for that one condition, at least). Of course, weight, wind, density altitude, obstacles, distance from the field when the engine fails must be factored into this experiment. So, I always advocate that the student add more altitude than the minimum for each climb out, especially since not many of us can perform as well under an unexpected situation as when we know what to expect (why do you think that test pilots can get performance that very few of us could replicate?). A Cessna 172R that I teach in requires about 600’ for it’s 180, so we use pattern altitude (800’ AGL at CPS) as our minimum turn around altitude. Armed with this information I believe that we can keep our students safer during this critical phase of flight and it’s a real confidence building maneuver and one that is “Beyond the PTS”.
I enjoy writing this column, because I hope that it might make us think about how we can improve our skills as CFI’s and ultimately keep our students safer. I plan on covering many more things that we can teach that aren’t in the PTS (or the new ACS, when those come out to replace the PTS). We can all help each other to grow as CFI’s, and so that I can improve my own abilities, may I ask you to critique these articles for accuracy and relevance and get back to me as soon as you can with corrections? Thanks for listening.–Craig

